It seems paradoxical that to teach unplugging in schools would be the answer to stellar digital...
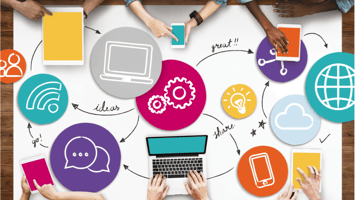
Digital animations for online education is a medium filled with potential: the ability to visualise any imaginable scene, image, or story in full colour, motion, and sound has massive implications for education, advertising, and entertainment—which, in our digital world, seem to increasingly manifest as the same thing. Video itself as a medium has been used for storytelling and sharing information for close to 150 years, although animation is, at least in many cases, a fundamentally more artistic endeavour.
As evidenced by the ever-increasing popularity of learn-for-fun YouTube channels such as CrashCourse or Kurzgesagt (who incorporate spectacular motion graphics and animation), it’s clear that animation has transformative promise when it comes to keeping digital education engaging, enjoyable, and effective. Even organisations such as Khan Academy and TED-Ed have produced animations for educational purposes in recent years, with widespread success.
Due to the nature of animation, whether the final results are motion graphics, hand-drawn animations, or any other combination of methods, creating animation is always going to be a more labour-intensive pursuit than something like a ‘talking head’ video. That doesn’t mean that animation isn’t worth it, but it does mean that both the client and the animator need to pay careful attention to a rigorously detailed and carefully constructed process. For a high-end studio, and depending on style and quality, a single minute of finished animation could easily take hundreds of hours of labour to complete, whereas a single minute of filmed video takes, well… a single minute to record—admittedly, editing can extend that out. Creatives and clients should also both carefully consider the costs associated with software (such as the Adobe Suite), stock footage or original video, high-end animation workstations, and rendering times.
In general, for educational videos, it’s a good rule of thumb to aim for 1080p at either 25 or 30fps. This is sufficient quality for brilliant animation to shine in all its visual glory, and perfectly formatted for online hosting with platforms like Wistia or learning management systems like Canvas—resulting in small enough file sizes that the video is still accessible to people with lower-grade internet connections. It’s always possible to publish work at 4K and 60fps, although this tends to be overkill for most normal use cases and may even make work more inaccessible.
To maximise the potential of an animation, whether intended for educational or promotional purposes, it’s crucial to pay attention to animation best-practices. For animators, this includes the actual video format (making sure that everything is appropriately compressed, that the aspect ratio is correct, the resolution is not overkill, and that deliverables are optimised for where they will be displayed). The following process, based on iterative design methodology, ensures the smoothest workflow for animators and the best results for customers. This process should be approached in such a way that revisions are encouraged at every step, as the earlier revisions can be made, the less work will be required to ‘undo’ them.
1. Requirement gathering
This may seem like a no-brainer, but requirement gathering is a crucial part of the process before anything else can continue. Putting more work in at this stage will mean fewer revisions later down the line. The client and the creative both need to be completely on the same page regarding timelines, budget, and expectations. As part of this stage, provide creatives with reference examples, brand guidelines and assets, colour palettes, or any other necessary assets if applicable. Before commencing any design, it’s important to give the creative a clear understanding of exactly what the animation needs to convey, the tone and style it needs to represent, the content of the script, and the target audience.

2. Scripting
Of course, like a film, no animation can be completed without an excellent script to precede it. A great script guides, either directly or abstractly, the content that will later be illustrated and animated. Write scripts with the eventual visualisation in mind, and tailor the prose specifically to the animation’s target audience. When scripting for animation, annotate scripts with loose concepts of what might be happening on-screen during each line or ‘scene’.

3. Mood boarding
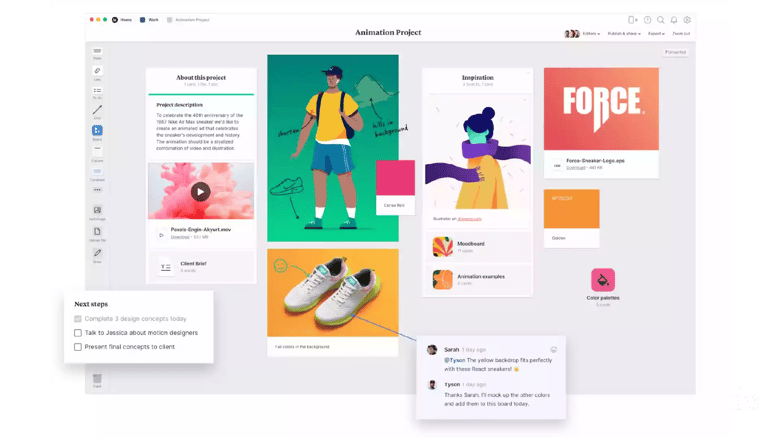
There are a plethora of tools, such as Milanote or Miro, to support the creative team to both collect and create examples that can be gathered into a ‘mood board’—an amalgam of original and/or unoriginal works to convey to both parties the colour palettes, characterisation, motion and style that the animation will utilise. Mood boards are an effective way to distil what the animation should look like (in terms of colour palettes, textures, characters, imagery, iconography, and so on) prior to labour-intensive illustration.
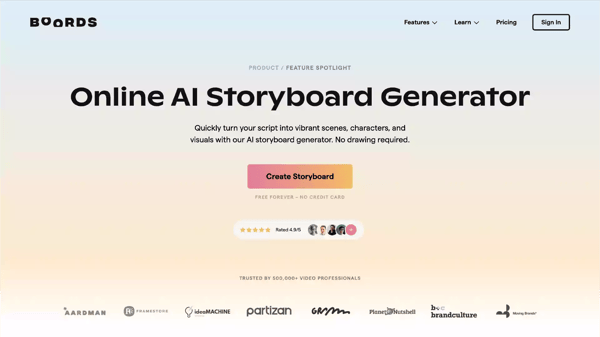
4. Storyboarding
A storyboard is, in essence, a roughly visualised script. During this stage, sketch out the entire animation, with the intent of conveying the imagery that will be associated with each line of the script. It’s a good idea to loosely compose each storyboard as loose sketches, not final frames, as a benefit to both the client and the creative. Storyboards allow the client to suggest any necessary revisions prior to the commencement of developing animated or illustrated content, and allow the creative to begin considering which techniques and assets will be required to produce the final piece.
Storyboards can be completed in software such as Photoshop, or can use specifically-tailored software such as Boords.
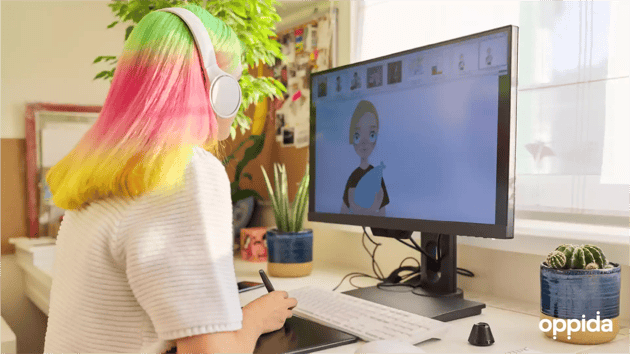
5. Illustrations, characterisation and style frames
This is the period during which the creative, or the creative team, begins to illustrate scenes, characters, and other assets that will be visible in the final animation, and these should be coloured, styled, and detailed as such. These assets should be discussed throughout this process, and revisions should be suggested if necessary. This process culminates in ‘style frames’—single frames of the final animation that are polished and resolved, and are identical (or close-to-identical) to how they will appear in the final animation. For large projects or first-time clients, a ‘motion test’ may also be produced, which is a small segment of animated content intended to display a complex movement that may not have been conveyed in the storyboard or style frames. These assets may be created in Adobe Illustrator, Photoshop, or Animate.
6. Animatic
An animatic is essentially a slideshow of the storyboard, timed to either drafts or final copies of the voiceover or music. The animatic stage stitches each frame in the storyboard together, allowing them to be played back in a video format. They allow for everyone to have a clearer vision of what the final animation might look like, particularly in combination with style frames, as well as how long each particular shot or scene will spend on the screen. At its core, an animatic aims to convey timing, rather than the look and feel of the final polished scenes, and is specifically useful for planning out the motion of a scene rather than the illustrations.
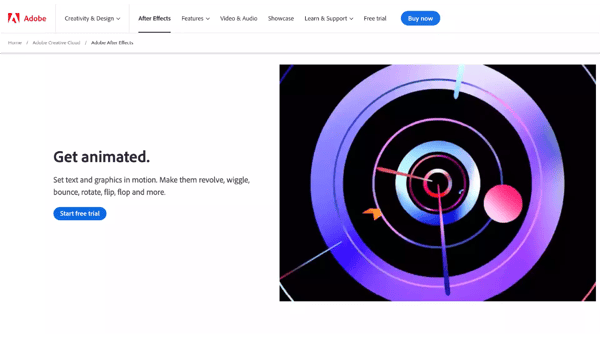
7. Motion
Adding motion to the previously illustrated assets often comprises the most labour-intensive and resource-intensive stage of the creative process, and this is the point at which the previously generated style frames come to life. As a general rule of thumb: the more “moving parts” you can see on screen at any point, the longer that shot would have taken to complete. This implies that there are a number of things that can speed up the animation process: using stock footage or imageoppidas, having less motion on-screen at any given point, or simpler characters. The inverse is also true—more moving parts, more complex characters, and the more original an animation concept—all imply an animation that will take longer to complete. For educational animations, the industry-standard tool is Adobe After Effects, with illustrations generally completed in Illustrator or Photoshop.
8. Revision and finalisation (rendering)
At this point, the animation should be close to finished and may undergo a number of ‘revision rounds’ to perfect. If steps 1-7 have been executed perfectly, then there should be very minimal revisions to make at this point. Tools like Frame.io, Vimeo and Dropbox are helpful for sharing and reviewing video content. Once the animation has received the final sign off from a client, the final results are ready for delivery and to share with the world! Generally, for educational videos, in a H.264 file format that is compressed and ready for embedded distribution.
At Oppida, we rise to the challenge of turning complex topics into fun and engaging animations through the steps we’ve outlined above. Check out the results below and share the link!